I wanted to make a simple hood to keep me warm. After looking around on the internet I came across the Skjoldehamn Hood. The original find was on the Norwegian island of Andoya. Fabric is a 2x2 twill. The hood was created from 2 long rectangles and two squares. The hood has 2 ties place on the each side of the hood. I believe the ties are fasend at the back of the hood to keep it snug to the wearers head. The hood has been radiocarbon dated to 1000-1200 BCE.

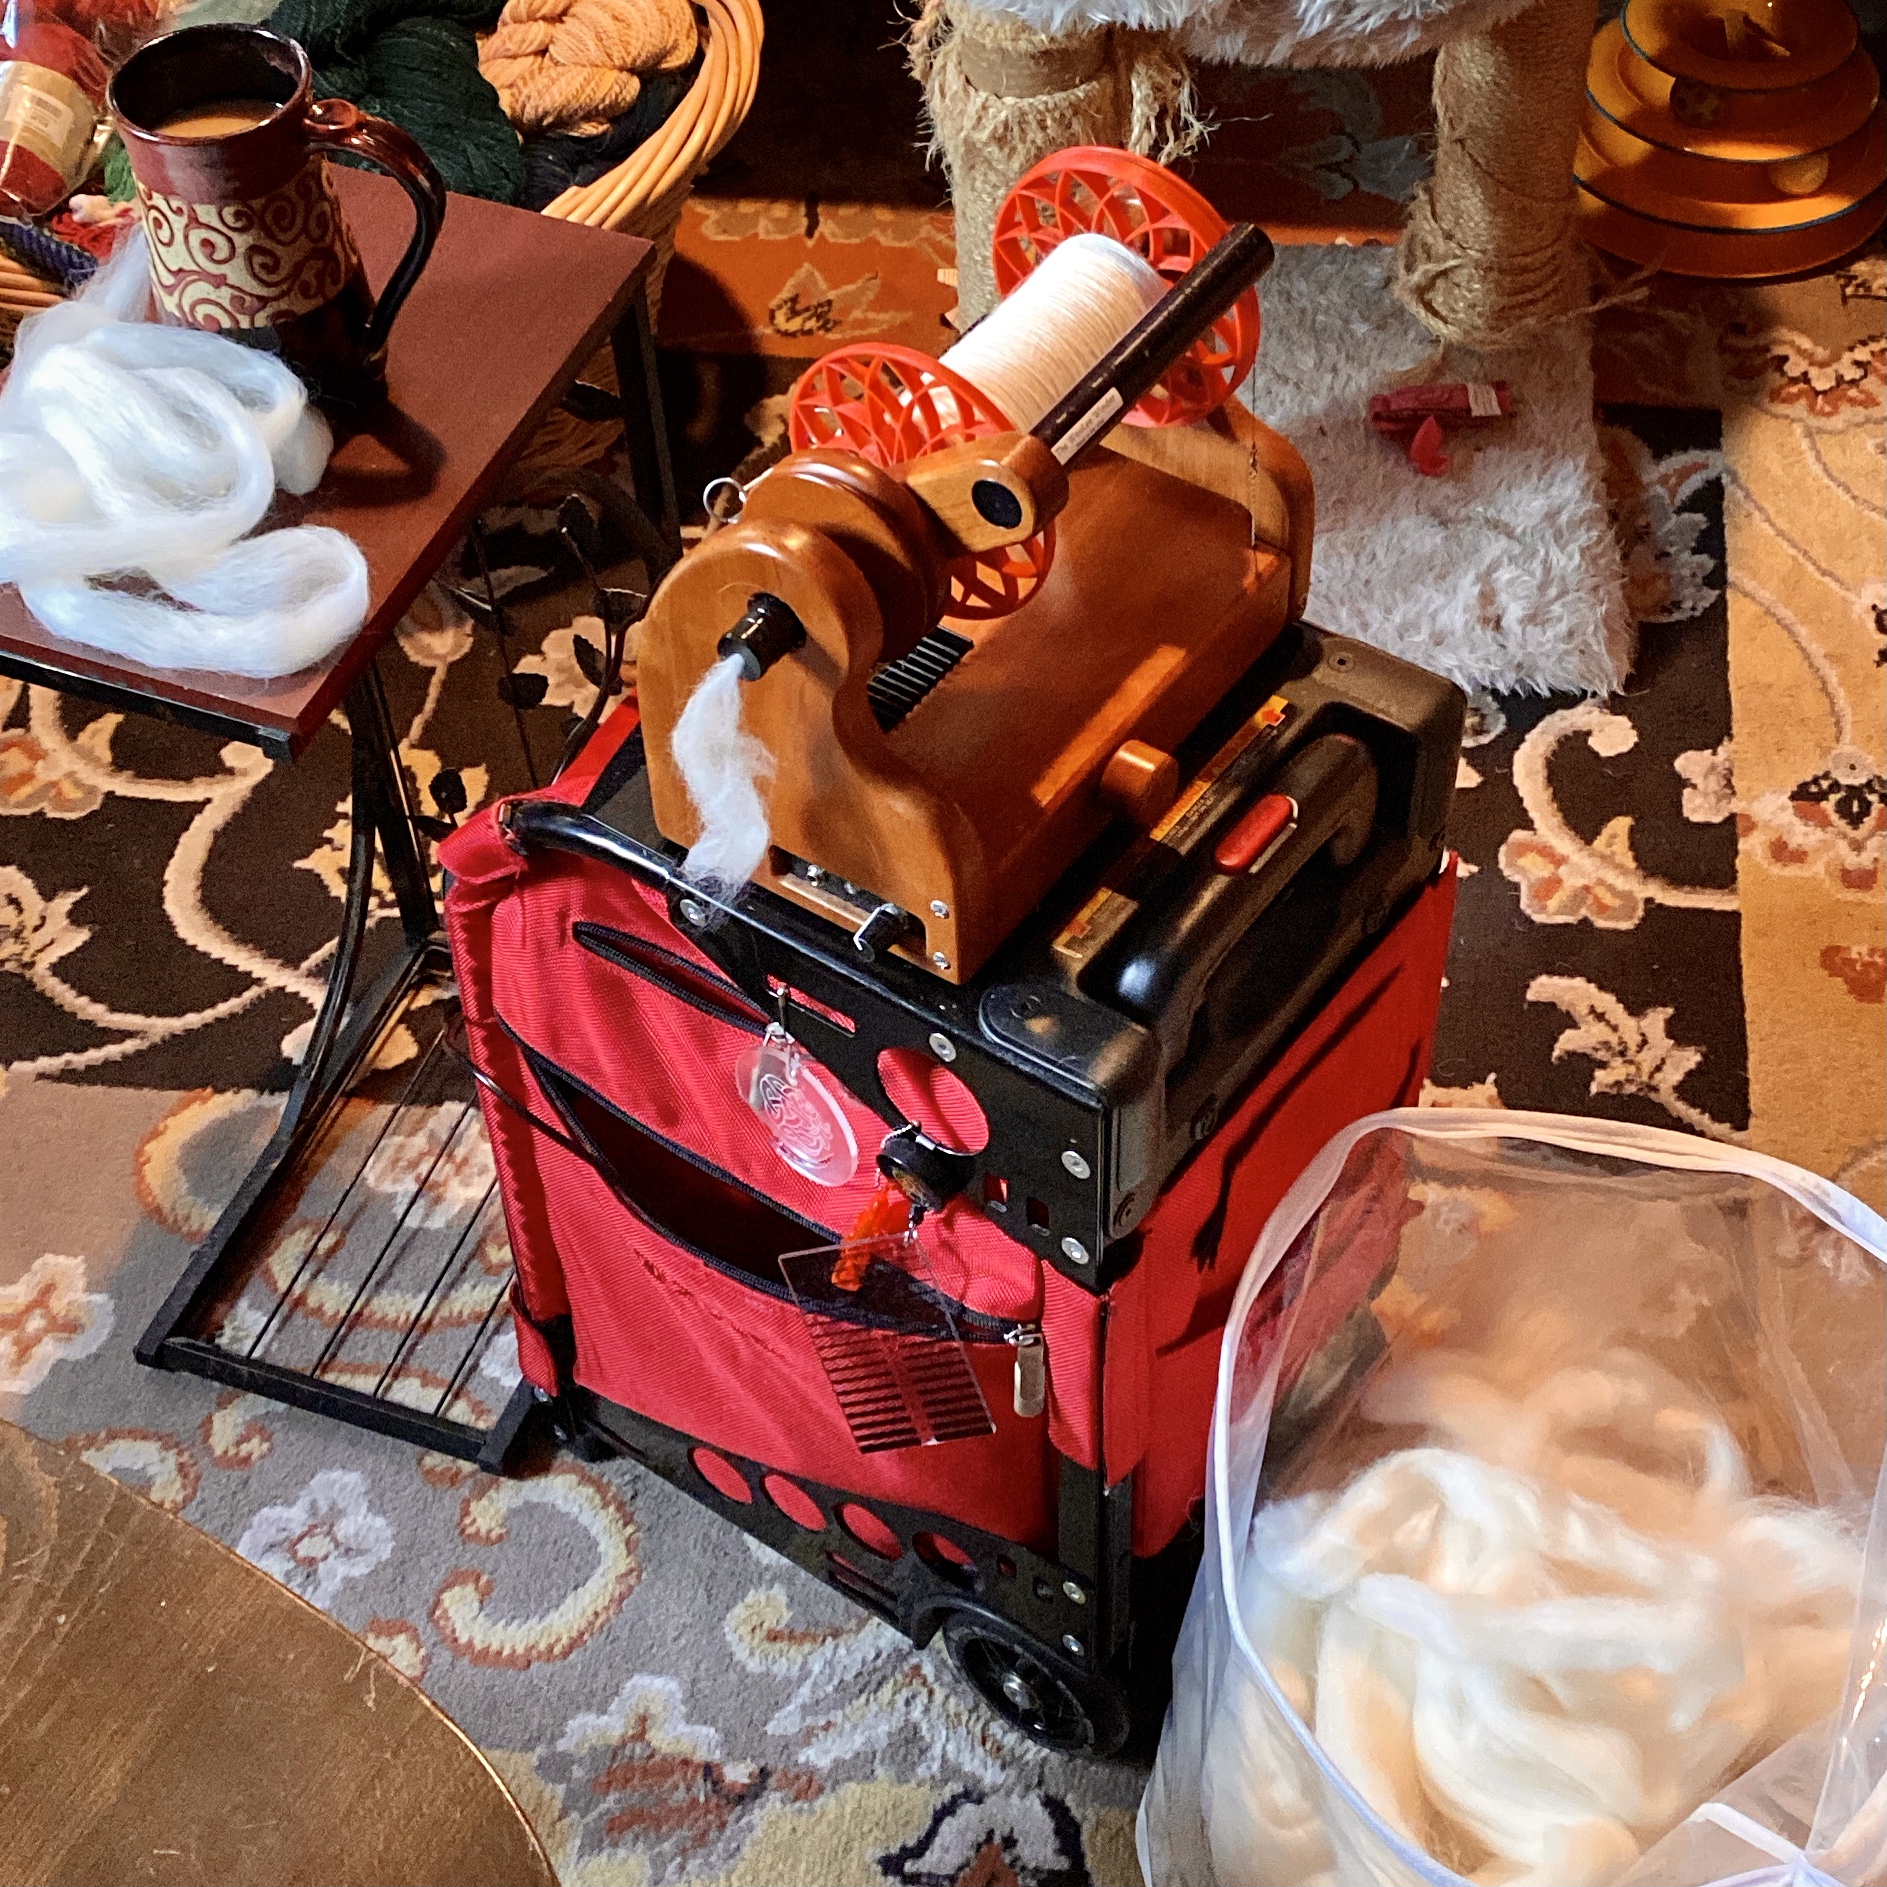
I started spinning the yarn for this project in early March 2032. The fiber is Targhee. I decided to use my Hansen Mini Spinner, which is an electric wheel for a few reason, I have Rheumatoid Arthritis. This wheel allows me to spin for a longer time in rash spinning session. A wheel allows you to create more yarn than a spindle. The choice of fiber was made primarily for its softness. I wanted the cloth to be as soft as possible since I would be wearing this next to my face. The yarn was spun to 20 wraps per inch with a Z twist and grist of about 40 twists per inch. I kept a small sample of the spun yarn to periodically compare to the yarn I was spinning so I could maintain the consistency. To finish the yarn once it was spun I soaked in a warm water bath with liquid dish soap to clean any dirt and oils from my hand that I may have gotten on the yarn. It took until the end of May 2022 to complete the spinning and finishing.

Once the yarn was dry I wound it into balls with a swift and ball winder. I didn’t want this weaving project to be to hard on my body so I decided to weave the cloth in plain weave, using my rigid heddle loom that has a weaving width of 24”. Another reason I chose the RH loom is that I would be able to easily dismantle the loom, with the warp on, to bring to events so I could demonstrate weaving.
The total warp length was 3.5 yards which included the loom waste. The sett in the heddle I used was 12 ends (warp yarns) to the inch. When tying the warp threads onto the cloth beam of the loom you alternate tying them left and right until you get to the middle. This helps to create even tension on all warp threads.
You can see in the picture below that I used brown craft paper to separate the layers of warp. This is so the layers of warp are wound onto the warp beam of the loom evenly. This helps to maintain an even tension on all warp threads.
While working on this project I was appropriately supervised. Her name is Lucy.
During the weaving I had one end (yarn) break in the warp.
To fix the broken end I cut a length of the yarn and put it through the heddle of the broken end. I secured the new end in the fell (front of the cloth as it is being woven) with a needle using a figure “8”.
I secured the other end of the replacement yarn by wrapping around a bobbin, then hanging it off the back of the loom. I also added an “S” hook provide a little weight on the replacement yarn to hold it taunt.
Once I had woven a few inches to incorporate the new end of warp into the cloth I could cut the new end. I then tied a knot. Before washing the finished cloth I untied the knot and sunk the ends of the yarn into the cloth by weaving them into the cloth.
I completed the cloth in early December 2022. The picture below is before finishing.
I finished the cloth by washing it in my washing machine on a gentle, warm water cycle. This fulled the cloth. After finishing it is clear to see my selvedge (the side of the cloth) are not even. To get better, more even selvedges I think I will use a temple (a device to help keep the edges of the cloth even while weaving) on my next cloth weaving project.
After fulling the thread count is approximately 20 to 22 ends to the inch.
To be continued.
Brennasdottir, U. (2021). In Pursuit Of Medieval Excellence. https://medievalexcellence.com/2021/05/12/skjoldehamn-hood/.


Comments